A (M)app For Nantes: from paper to screens with mappiness 🌐
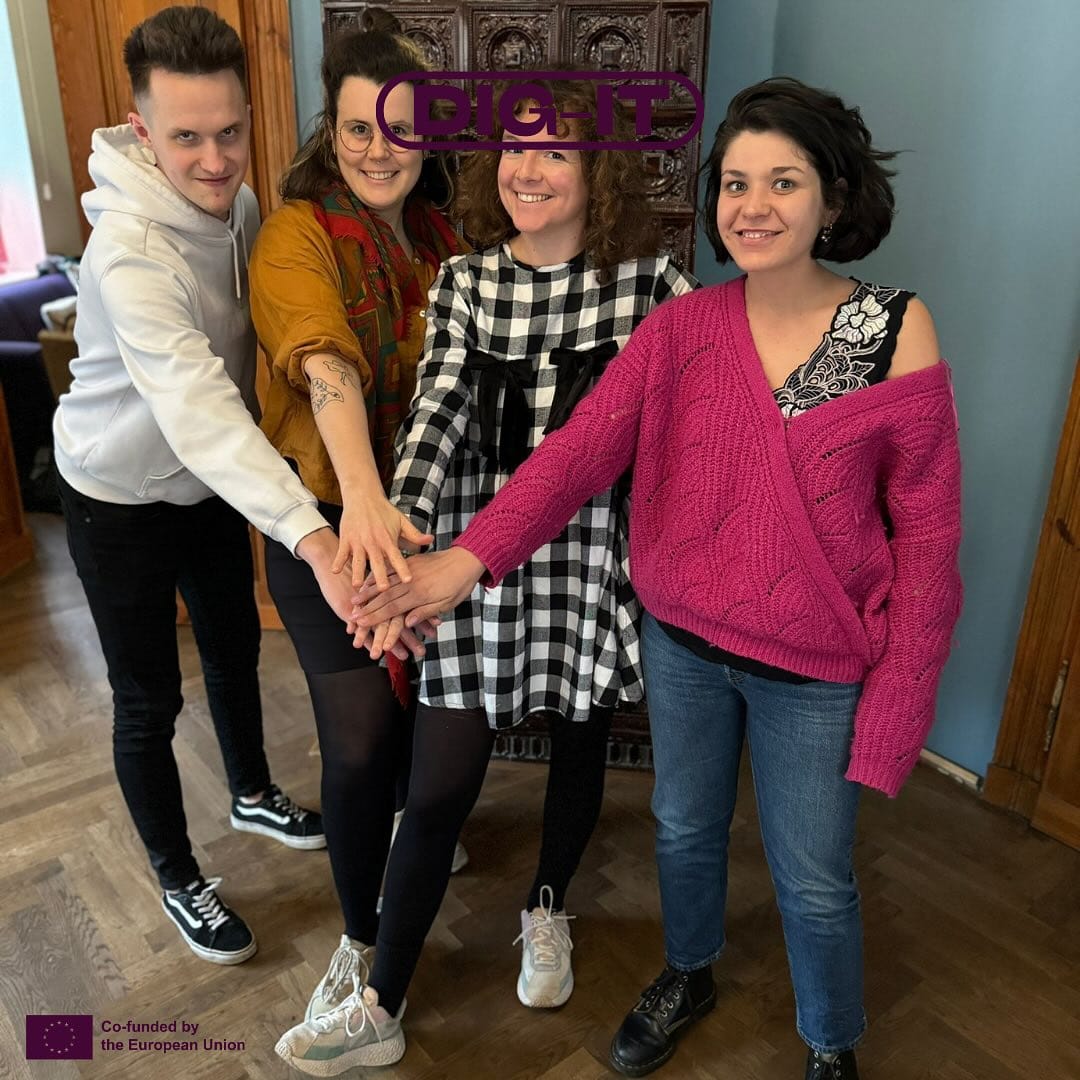
Meet team Cześć Świecie ("hello world" in Polish)! We took on the challenge of creating our very own digital version of the latest edition of USE-IT Nantes, the paper map curated and produced by team Salut Monde ("hello world" in French). To achieve this, we've concocted a magical mix of both custom code and no-code solutions, delivering the unique look and feel of our paper map, with the added bonus of special features and surprises that are only available online!
Know your users!
The first thing we did when we started working on our project was to think about the end user – the audience we’re eager to target and engage with. What challenges are they facing? And what unique value can we create for them? What's our brilliant solution? We had the natural users of our paper maps firmly in mind – young travellers on a tight schedule, keen to explore new and exciting destinations. They want to make the most of their short time, without breaking the bank. They’re after authentic, unbiased advice, and they want to experience the city just like a local.
So, we decided to bring the content from the latest edition of our Nantes paper map onto our online map, including all the points of interest (POIs), local history, and those quirky tips on how to act like a local. But that’s not all! We’ve also added some fantastic new features to the online version of our map – an option to collect favourite destinations in a personal bucket list, filter by category, and a special “surprise me” button that whisks our brave and adventurous users off to a random destination!
From paper to web
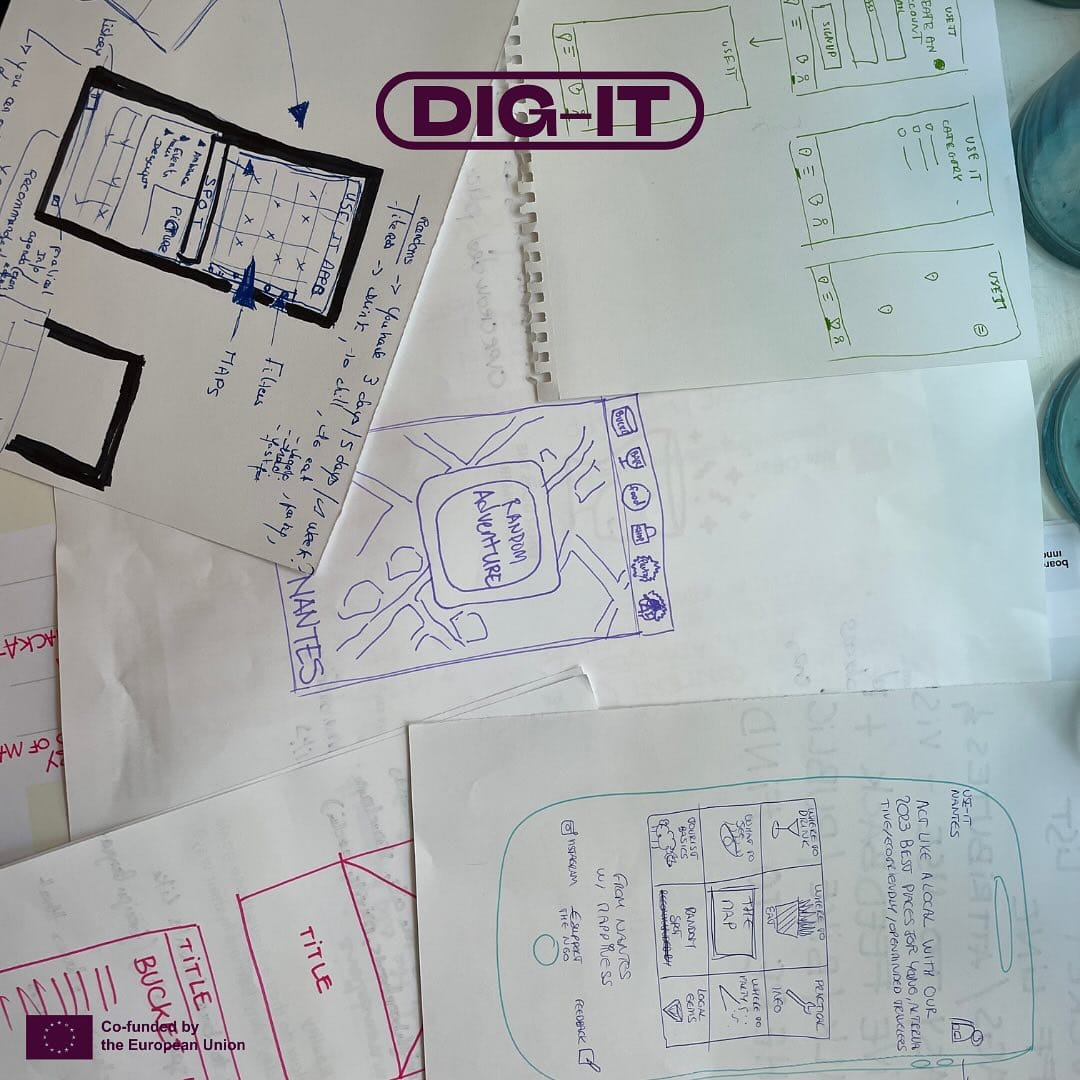
Every grand design begins with a plan! Before we started building our application, we created mock-ups to help us visualise how we wanted to arrange different components, like menus, buttons, screens – and of course, our web map. This phase is crucial for planning a seamless user experience, allowing users to navigate the application effortlessly and get the most out of it. We used Adobe XD for this (and lots of paper sketches, obviously) but there are plenty of other options you can explore, like Figma and many more!
Mix and match
Now, onto the challenging (and fun!) part – development and deployment. We chose the no-code product Webflow as our platform to design, manage, and host our website. However, this tool doesn’t come with built-in mapping features, so we had to get a bit creative. We used Webflow's database capabilities to store the tabular information for our points of interest that we wanted to display on the map. This part of the application is known as the back end – the behind-the-scenes magic that makes the user interface, or front end, work smoothly.
And now, the star of the front end – the web map! We used a geospatial mapping tool called Mapbox, and the best part about this service is that it lets you easily customise the look and feel of the base map in your application. This is how we took the colour scheme of our beloved paper map and brought it to life online.
Even though we opted for a no-code solution, we still had to make some tweaks to get everything working exactly as we wanted. We used CSS styling to customise the appearance of different components in the app, and a bit of JavaScript (a specific library called jQuery) to fine-tune the behaviour of the application.
We’ve created a special feature for adventurous explorers—a “Surprise Me” button that whisks users away to a random destination across the city! Another fun addition is our unique bucket list, where users can gather their favourite spots. With these two features, we’ve not only showcased how to successfully implement this functionality in JavaScript, but also how to create engaging gamification options that offer a smooth and enjoyable user experience.
To connect the back end with the front end, we used a special tool called Jetboost, which allowed us to integrate all these components into one beautifully functioning web map!
Show me the money💸
Hurrah! We’ve created a beautiful app that works smoothly, but our journey doesn’t end here. Like with any project, we must also think about maintenance to keep everything up and running, and as you know, this doesn’t come without a cost. Fixing issues, buying a custom domain, and using the brilliant tools we’ve mentioned are all part of the deal.
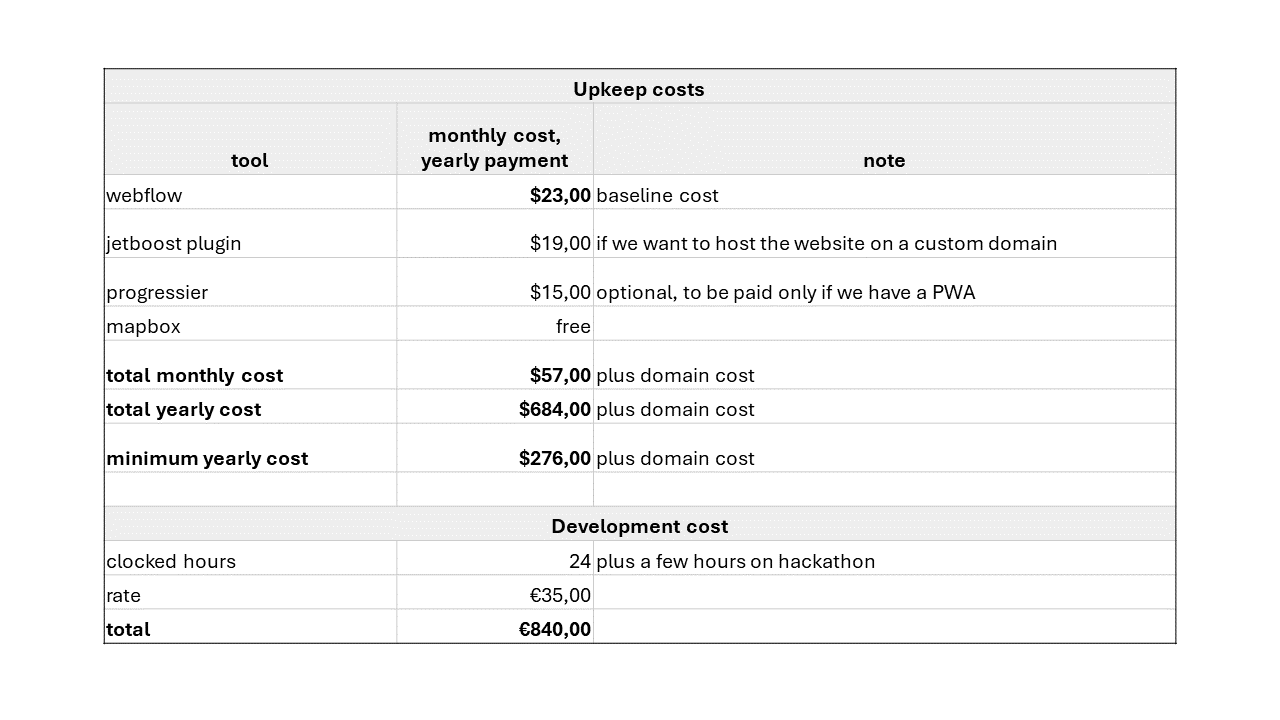
But with a bit of forward planning, you can estimate these costs to ensure you have the right funding to keep your project going for the long run. Check out the example breakdown we’ve put together for you!
Still worried about funding? Why not explore our FUND-IT project? It’s all about helping you gain the knowledge and skills needed to fully and sustainably fund your mapping project – whether it’s on paper, on the web, or even both!